Quick Start
First Login
-
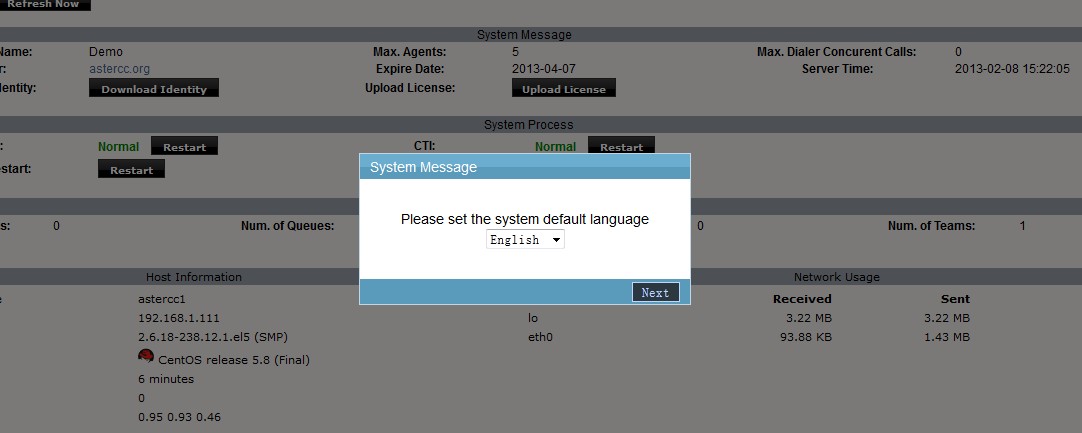
After installation, enter the server ip in your broswer, such as: https://192.168.1.110, 192.168.1.110 is the IP of astercc server, the default system administrator user & password is admin and admin.
-
we suggest that user use FireFox or Chrome browser.
-

-
When it’s your first login, it will prompt to select the default language
-
Click [Next], it will prompt to enter a email box for administrator

Quick Setup
-
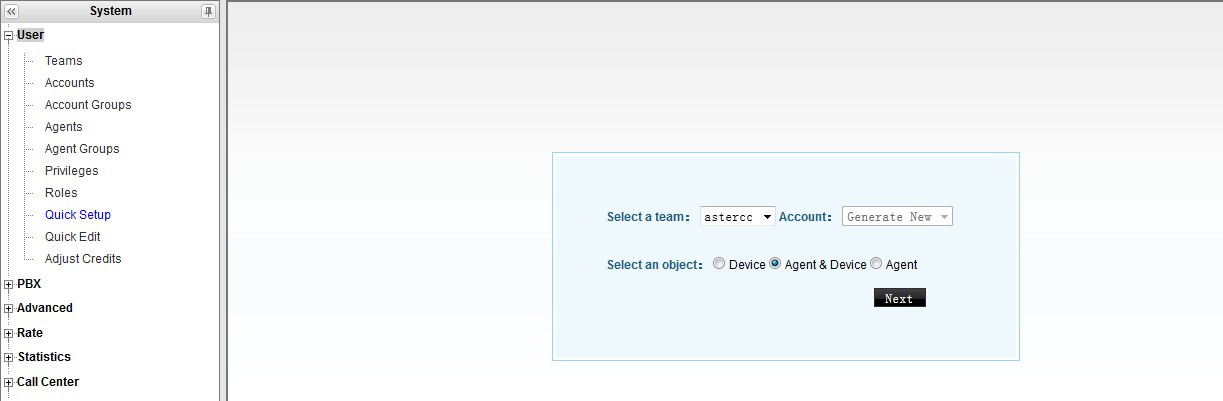
On the left menu, click [User] → [Quick Setup], go to qucik setup page, we can add a batch of account, device and agent.
-
It provides 5 agents for trail, so we select agent & device.
-
-
Click [Next] go to the setup page.
-
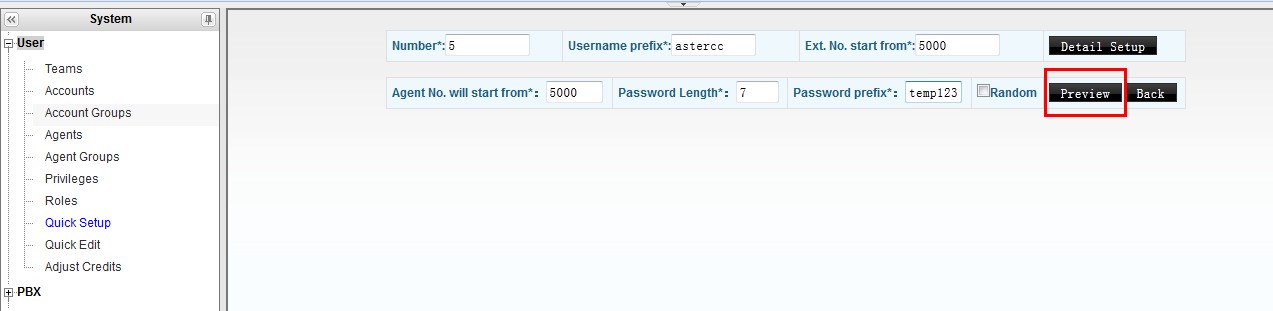
Number: 5, we will add 5 accounts, devices and agents;
-
Username prefix: astercc, all username of the accounts will start from astercc;
-
Ext. No. Start from: 5000, all ext. number which we add this time will start from 5000
-
Agent No. will start from: 5000, all agent no. which we add this time will start from 5000;
-
Password Length: 7, the length of password will be 7;
-
Password Prefix: temp23, the password prefix of account password and agent password, when the length of password prefix is same as password lenght, means it will use same password above.
-
-
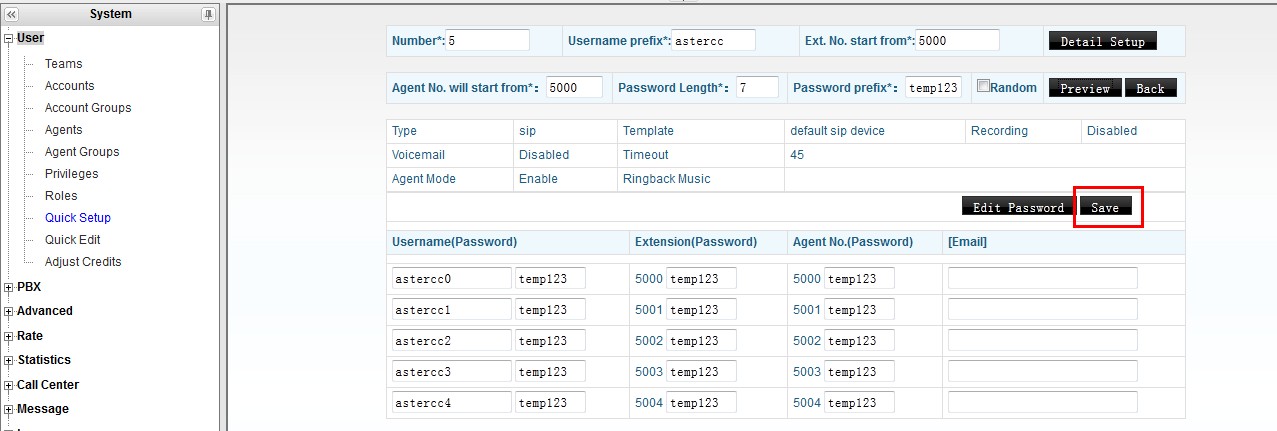
Click [Preview] button, you will see the account detail it is about to generate.
-
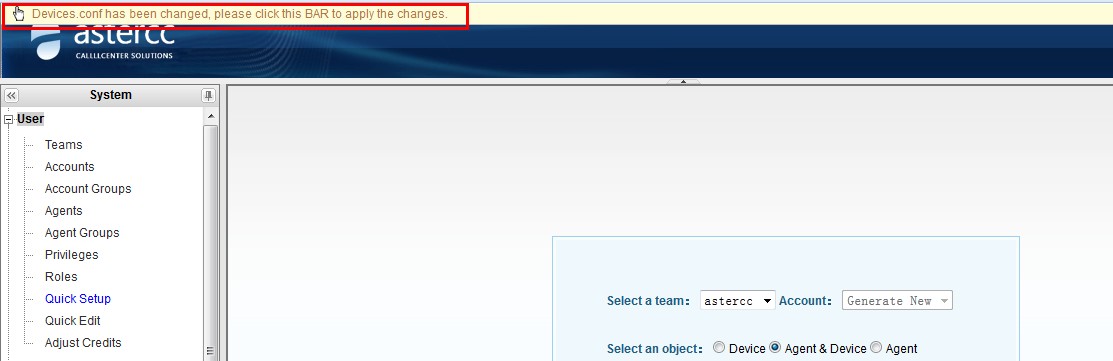
Click [Save] button, it will generate the accounts, devices and agents.
-
We will see a reload bar at the top, click the bar, the changes we made will be applied.
Agent Group
-
Agent must belong to one agent group for work, go to [User] → [Agent Groups], click [Add]

-
Click [Add Agent], we will add all five agents to this agent group, click [Select Add]

-
Click [Add], it will move all agents into the agent group, we check [group admin] for 5000, 5001.

-
When it’s saved, it will prompt if you want to add a queue by system, the agent group only work with a queue, so we click [Add queue by system automatically]

-
When it’s done, we also need click the bar to apply the changes.

Devices and Trunk
Devices
asterCC supports all kinds of softphone, gateway or IP phone as long as they support SIP 2.0 protocol, in this post, we use eyeBeam softphone as a sample.
-
you can download a free X-Lite from https://download1.astercc.org/X-Lite_Win32_1011s_41150.exe
-
go to SIP account configration, please notice that it should use astercc-5000 rather than 5000 (astercc is team identify), password use “temp123” which we configed above.

-
Click [Save], then the softphone is ready.
-
When it gives error, you can try find the error from the error code
-
403 Forbidden: wrong username & password, please make sure the username is astercc-5000, not 5000;
-
408 Request Timeout: can not connect to the server, please check firewall or network;
-

Trunk
-
In order for us to make & receive calls from asterCC, we need config trunk, in this case we use a SIP trunk.
-
Go to [PBX] → [Trunks], click [Add]:

-
Fill detail part according to the SIP account information from your ITSP, if you need recevie calls, you also need input the registry string (no need registry string if it’s using IP authentification)
-
A typical detail for username & secret authentification is
username=yourusername fromuser=yourusername host=your trunk ip fromdomain=your trunk ip secret=yoursecret port=5060(sip port of the provied, usually it is 5060)
registry string username:secret@trunkip:port, such as
yourusername:yoursecret@222.222.222.222:5060
-
A typical detail for IP authentification is
host=your trunk ip fromdomain=your trunk ip port=5060(sip port of the provied, usually it is 5060)

-
Click [Save] then it’s done, if you didn’t select team for this trunk, it will prompt if you want to config this trunk as the default outbound trunk for a team, click [OK], means the team astercc will use this trunk as the default outbound trunk.

-
Click the reload bar to apply the changes
-
Now we can try dial from softphone, if it doesn’t ring, you can also try find the error from error code:
-
486 Not Acceptable Here:audio codec error, please check the trunk, make sure your trunk and your softphone support same codec, if you are using g729, please make sure you load g729 codec in asterCC;
-
603 Declined: usually it’sauthentication error, please check the trunk configuration, if your trunk requires Caller ID authentication, you can force the trunk use a Caller ID


Inbound Route
Inbound route is used to route a call by DID, trunk or time condition, here we add a default route so all incoming calls will be routed to the queue we created above.
-
go to [Advanced] → [Inbound Route], Click [Add]

Agent Portal
-
Login as agent, in this post it is astercc0/temp123

-
Agent could only work when he’s checked-in, click [Login], agent will check-in all agent group he belongs to.
-
Orange Icon means it’s usable.
-

-
In group panel, agent could choose which agent group he want to check-in, choose current agent group, ACW mode, work mode.

-
Make a call from the softphone, you can see the call status from call panel
-
Red means it is ringing.

-
Green meas call is answered.

Module Installation
In order to get popup when agent have calls, we can install different modules depends our business, here we use the new customer service module as a sample.
-
Login as administrator, go to [System Modules]

-
Click [INSTALL], install the customer service module

-
Click [OK], start installation

Customer Service Module
-
Go to [Customer Service]→[Customer Service], click [Add] to create a new customer service page, select the agent group we created.

-
Go to [User]→[Agent Group], double click the agent group, make sure the current outbound business is the customer service we just created

Agent Portal Popup
-
Login in as an agent, make a call from the softphone, you should see the popup as the screen shot.

-
Due to we configed a inbound route, you can also dial the DID to reach the agent

Agent Functions
Missed Calls

Call Detail Record

Pause

Messages

Agent group panel
-
Click group icon to display agent group panel, each group that the agent belongs to will have one line
-
The first radio means the the agent group is the one agent use when he makes a call from his phone
-
The first check-box means agent is checked-in
-
ACW mode, when a agent is in ACW mode, the queue would not assign calls to him
-
Ringin, as long as the agent phone rings, whether answered or not, when it’s end, agent will go to ACW mode
-
Ansered, when agent ansered a call, agent will go to ACW mode
-
Disable, agent will not enter ACW mode automaticly
-
-
Work mode
-
ALL: means agent could make outobund calls or receive calls
-
Inbound Only: means agent can only receive calls from this group
-
Outbound Only: means queue will not assign calls to this agent, but he can make outbound calls
-

Monitor
-
Agent group admin will have the access to monitor page, in this page it will display all checked-in agents
-
Yellow means agent is idle
-
Light blue means agent is ringing
-
Red means it’s talking
-


-
Click a conversation, it will appear call action panel, the group admin will have the following features
-
Hangup: hangup all calls in this conversation
-
Spy: Spy this conversation
-
Barge-in: the group admin will join the conversation
-
Whisper: the group admin could talk to the agent, but the other parties can not hear
-
Force Release: the group admin will talk to client, and the agent will be hangup
-
